Soaring with Responsibility: The Importance of Personal Responsibility in Skydiving Safety
This article emphasizes personal responsibility in ensuring safety while skydiving. Learn the basics, dangers of neglect, and small details that matter.
Skydiving is safer today than it has ever been, and most of that safety is built into the system before you ever board the plane: supervised training, written rules, dual-parachute gear with a backup that can fire on its own, and drop zones that pledge to follow those rules. The part the system can’t do for you is the part that matters most. The United States Parachute Association (USPA) says the vast majority of skydiving accidents come from simple human error, often an experienced jumper making a bad call while landing a parachute that was working fine.
So “personal responsibility” in this sport isn’t a slogan. It means knowing what each safety layer does, where it stops, and what you have to bring yourself.
Layer one: training that doesn’t let you skip steps
Every student in the U.S. who jumps at a USPA drop zone trains under a USPA-rated instructor until they earn an A license. There is no shortcut. You start with a ground school, then make your first jumps either strapped to an instructor (tandem) or alone with instructors holding onto you in freefall (accelerated freefall, or AFF), and you work through a set of skills one jump at a time.
To get the A license you need, per the USPA Skydiver’s Information Manual:
- 25 freefall jumps
- every item on the A-license progression card signed off
- a 40-question written exam (75% to pass)
- an oral quiz where you need 100%
- a check dive with an evaluator watching
The oral quiz is the one people underestimate. It covers emergency procedures, and USPA wants every answer right because there’s no partial credit for a malfunction at 2,500 feet.
Your responsibility here is simple: don’t rush the card. If an instructor wants you to repeat a jump, repeat it. The skills you skate past on jump 12 are the ones you’ll need on jump 212 when nobody is watching.
Layer two: the rules (and who writes them)
Two sets of rules apply on every jump. The FAA regulates the aircraft, the parachutes and the riggers who pack reserves. USPA’s Basic Safety Requirements (BSRs) cover how jumps are run at its member drop zones. A few that shape your day:
- Opening altitudes. Students and A-license holders must have the container open by 3,000 feet above the ground. B-license holders: 2,500 feet. Tandems: 5,000 feet.
- Wind limits. Solo students can’t jump when ground winds are above 14 mph (10 mph if they’d be landing a round reserve). Licensed jumpers have no set limit, which means the call is yours.
- Alcohol. No jumping within 8 hours of a drink, or while you appear to be under the influence of alcohol or any drug that affects you. The FAA has its own alcohol and drug rule too.
- Wingsuits. At least 200 jumps and a current license before you put one on.
- Oxygen. Required on the aircraft for jumps from above 15,000 feet MSL.
Read that wind rule again. Once you have a license, the drop zone isn’t going to stop you on a gusty afternoon. Sitting one out is a decision you make, and it’s one of the most common ones experienced jumpers make.
Layer three: two parachutes and a backup brain
Every sport rig carries a main parachute and a reserve. You pack (or pay someone to pack) the main. The reserve has to be packed by an FAA-certificated parachute rigger, and under federal rule 14 CFR 105.43 a modern synthetic reserve must have been repacked within the last 180 days to be legal to jump. Any automatic activation device installed in the rig has to be maintained to the manufacturer’s schedule.
What an AAD does
An automatic activation device (AAD) is a small computer in your container that watches your altitude and how fast you’re falling. If you’re still in freefall below a set altitude, it cuts the reserve closing loop and the reserve deploys without you. It exists for the jumper who is knocked out, disoriented, or simply lost track of altitude.
USPA rules require an AAD on every student rig, and the FAA requires one on the reserve of every tandem system. Licensed jumpers aren’t required to have one, but USPA reports that at least 90% of experienced skydivers jump with one anyway.
Most rigs also have a reserve static line (RSL), a lanyard that pulls the reserve the moment you cut away a bad main. It saves seconds when seconds are what you have.
Where the gear stops
An AAD is a last resort. It won’t help if you’re in a wingsuit flat spin falling too slowly to meet its activation settings, and it can’t fix a reserve that you’re too low to land well. USPA’s 2025 fatality summary noted that three deaths might have gone differently with a properly working AAD, including one jumper who didn’t have one at all.
Your part with the gear:
- Check your reserve data card before each season. If the repack date is more than 180 days back, the rig isn’t legal.
- Know your AAD’s service schedule and battery date. The manufacturer’s manual tells you both.
- Look at your main’s steering lines. USPA notes they wear faster than the rest of the lines; replace them when they shrink or fray.
- Get a gear check before you board, and give one to the jumper next to you. Handles, three-ring release, pin, chest strap threaded, RSL connected, AAD on.
Layer four: the drop zone you pick
Start your search with USPA’s Find a Drop Zone tool. USPA Group Member drop zones pledge to use appropriately rated instructors, equipment and pilots, and to follow the BSRs. A drop zone that isn’t a Group Member isn’t automatically unsafe, but you lose that baseline promise.
What to look for when you visit:
- Instructors who brief you without being asked. A good school walks you through the landing pattern, the windsock and the aircraft exit before you gear up.
- A Safety and Training Advisor (S&TA) you can name. USPA regional directors appoint these volunteers to drop zones. Ask who it is and whether they are around.
- Clear landing areas. USPA wants at least 330 feet from the landing target to the nearest hazard (power lines, buildings, water, roads) for students and A-license holders.
- Posted landing procedures. The Group Member Pledge requires landing rules displayed for everyone and separate areas or times for high-performance landings.
- A calm manifest on windy days. A DZ that puts students on hold when the wind picks up is doing its job.
USPA doesn’t count deaths by drop zone because accident numbers mostly track how many jumps a place does. So “they had an accident a few years ago” doesn’t tell you much. How the staff talk about safety on an ordinary Tuesday tells you more.
Layer five: you
This is the layer the old saying is about. The equipment rarely kills people; decisions do. Here’s what owning your own safety looks like in practice.
Have a plan for every jump
Before you board, know your exit order, what you’ll do in freefall, your break-off and pull altitudes, and which way you’ll land. USPA’s advice after the 2025 season was blunt: have a plan that covers exit, freefall, deployment altitude and the descent under canopy, every time.
Know your decision altitude
USPA recommends starting emergency procedures no lower than 2,500 feet for students and A-license holders and no lower than 2,000 feet for B and C licenses. Pick your number on the ground. In the air there’s no time to negotiate with yourself.
Practice emergency procedures until they’re boring
Hang in a training harness and run your cutaway and reserve pull: look, grab, peel, pull. Do it at the start of every season and after any break. USPA’s own reporting points out that a large share of people freeze under sudden stress, and the only fix is drilling a response until your hands move before your brain argues.
Be honest about currency
If you haven’t jumped in a few months, ease back in. Do a refresher with an instructor, jump a bigger canopy if you’ve been on a small one, and keep your first landings straight in. USPA’s 2025 report includes a jumper with more than 25,000 jumps who died on what was likely his first jump after several months off.
Don’t downsize faster than your skills
Modern parachutes can be a quarter of the size people flew in 1985, and small, heavily loaded canopies are fast and unforgiving. A mistake under a big student canopy usually means a sore ankle. A mistake under a small one can be fatal. Take a canopy course before each step down and get an instructor’s opinion before you buy.
Look after the body you’re jumping with
- Get a checkup. USPA notes that skydiving stresses the heart and that most doctors recommend an annual physical for people 40 and older.
- Drink water. Long days at a drop zone mean sun, wind and waiting. Being thirsty and tired slows your reactions.
- Dress for the job. Close-fitting clothes, laced athletic shoes with no hooks that can catch lines, and layers for altitude. Air cools about 3.5°F per 1,000 feet, so it can be 40-plus degrees colder at 13,000 feet than on the ground.
- Stop when you’re tired. The last load of a long day is when people get sloppy. Skipping it costs you a jump ticket. Not skipping it can cost more.
The one thing to remember
Every layer in this sport, from the instructor to the AAD, is there to catch a mistake. None of them is designed to be the plan. Before each jump, run through this:
- Reserve repack date inside 180 days, AAD on and in service
- Gear check done, by you and someone else
- Winds and landing direction checked, and you’re comfortable with both
- Jump plan agreed, including break-off and pull altitude
- Decision altitude set in your head
- Rested, sober, and current (or doing a refresher)
If any line on that list is a “no,” sit the load out. There’s always another one.
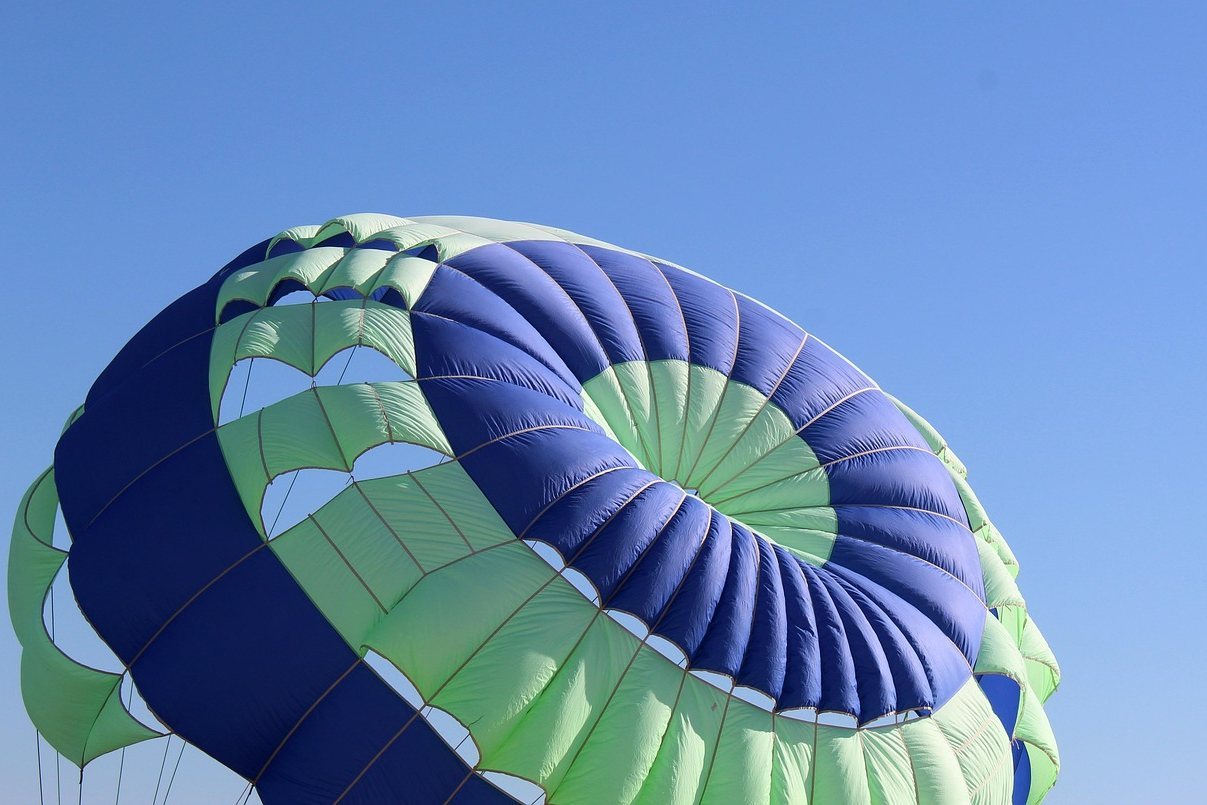
Photo by Lyuuda on Pixabay.