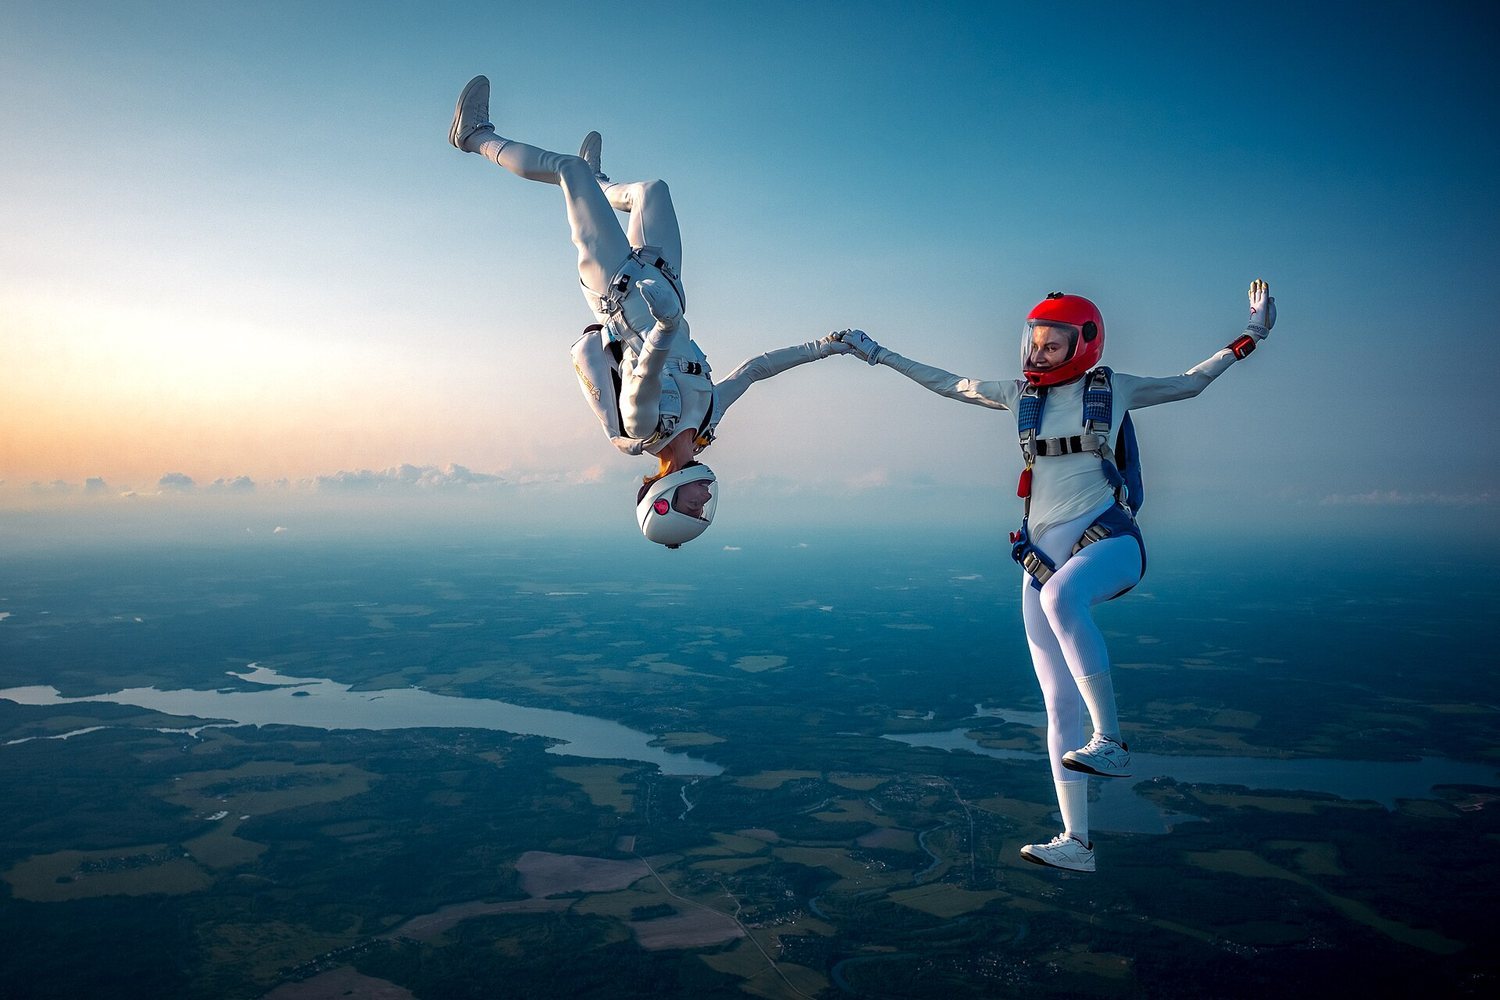
Freefalling into Framed Perfection: Skydiving Photography Tips for the Ultimate Shot
Learn how to capture the perfect skydiving shot with these photography tips. From equipment to editing, we've got you covered. Safety first!
The best skydiving photos come from experienced camera flyers, not from first-timers holding a phone. If it’s your first jump, you’ll get the best shot by buying the dropzone’s photo package. That usually costs about $99 to $230 on top of the jump, depending on whether you choose a handcam or an outside videographer. If you’re a licensed jumper who wants to shoot, the U.S. Parachute Association recommends at least 200 jumps and camera instruction before you wear any camera, even a tiny action cam.
Below is what each group needs to know, along with the settings and habits working camera flyers use.
If you’re a tandem student: buy the shot, don’t take it
You can’t bring your own camera on a tandem. USPA’s Basic Safety Requirements ban pole camera mounts on tandems, whether handheld or attached. They also require a tandem instructor to hold a handcam endorsement or have at least 200 tandem jumps before using any camera on themselves or their student. Dropzones enforce this, and a loose phone at 120 mph is a projectile.
You’ll usually get two choices:
- Handcam: your instructor wears a camera on their wrist. You get tight, face-forward shots of your reaction, plus the canopy ride. It’s the cheaper option, often around $99 to $130.
- Outside videographer: a second jumper flies next to you in freefall. You get the exit, wide shots with the sky and ground, and the big-moment photos people frame. Expect the higher end, roughly $130 to $230 at many U.S. dropzones.
Those ranges come from dropzone price sheets like Skydive Snohomish’s ($99 video and photos) and other centers’ posted packages. Prices vary by dropzone, so check yours.
A few things that make your photos better, at no cost:
- Look at the camera on exit and in freefall. Your instructor or videographer will point. Your eyes make the photo.
- Arch and smile. A good arch keeps you stable and opens your chest to the lens. Smiling at 120 mph makes your cheeks flap, and that’s part of the fun.
- Dress for it. A solid, bright shirt reads better than busy patterns. Tie back long hair or ask for a hood.
- Jump earlier or later in the day. Morning and late-afternoon loads get warmer, lower light than noon, when the sun washes everything out.
If you’re a licensed jumper who wants to fly camera
Camera flying is its own skill, and USPA treats it that way. The Skydiver’s Information Manual, section 5-7 recommends:
- A license and at least 200 jumps before jumping with any camera, “regardless of the camera type, shape or size.”
- At least 50 recent jumps on the same parachute equipment you’ll use for camera flying.
- For filming students, at least 300 group freefall skydives and 50 camera jumps with experienced jumpers first.
These are USPA recommendations, not federal law, but most dropzones write them into their own camera policies. Many won’t let you board with a camera until an instructor signs you off. Ask at manifest before you show up with gear.
The reason is simple. A camera adds snag points for your pilot chute bridle and lines, it can come loose and fall on someone, and it pulls your attention away from altitude, traffic and your gear.
Gear that’s built for it
- A camera helmet with a cutaway. USPA says any camera helmet should have an emergency release you can operate with either hand in case of entanglement. Full-face skydiving helmets like the Cookie G4 list at about $540 to $600 before mounts.
- Low-profile mounts with taped edges. USPA’s manual says to cover, tape or protect every edge and snag point, including gaps between the helmet and camera.
- An action camera for video. A current GoPro runs about $400 new (HERO13 Black launched at $399). Set it to a wide field of view and leave it running from the plane.
- A mirrorless body for stills, if you get serious. Camera flyers fire it with a bite switch, a small mouth-held trigger on a cable, so their hands stay free for flying.
- A parachute that opens slowly and on heading. USPA’s words. You’ve got extra weight on your head, and a hard, off-heading opening is worse with a camera helmet.
Settings that work in freefall
You can’t fiddle with menus at 120 mph, so camera flyers set everything on the ground. One working setup, from Hypoxic’s Sony skydiving guide:
- Shutter: 1/800 on overcast days, up to 1/1250 in bright sun, to freeze flapping jumpsuits.
- Aperture: f/4 to f/5, enough depth of field to keep a whole formation sharp with a wide lens.
- ISO: Auto, capped around 800.
- Focus: continuous autofocus with a center or wide area, so the camera doesn’t lock onto the airplane door.
- Drive: continuous shooting at a moderate burst rate.
Treat these as a starting point and adjust for your camera and lens. Check them on a few ground shots of moving cars before your first camera jump.
Flying the shot
- Brief the jump. Agree on who exits where, what the subjects will do, and the breakoff altitude. Camera flyers are usually the last ones to pay attention to altitude, so set an audible altimeter.
- Match fall rate. If you fall faster or slower than your subjects, you’ll spend the jump chasing them.
- Stay out of the danger zones. USPA says to avoid the area directly above or below a student. Filming openings aggressively puts the jumper at risk. Back off before deployment, then get canopy shots from a safe distance.
- Get the exit. Exits make some of the best frames: the door, the group and the horizon all in one shot. Your spot on the plane and your exit timing matter more than any setting.
- Use the sun. Fly with the sun behind or beside you so faces are lit. Shooting into the sun gives you silhouettes, which can be great once you mean it.
After the jump
Back up the card before anything else. Then sort fast: most of a burst is near-duplicates, so keep the frame where eyes are open and the subject is sharp.
For edits, a raw file lets you pull back blown-out skies and lift shadowed faces. Lightroom’s Spot Removal and Photoshop’s Spot Healing Brush handle dust on the lens and the odd stray strap. Go easy on saturation. Blue sky and green fields already pop, and over-cooked skin looks fake fast.
If you shot someone else’s jump, the dropzone may have rules on who owns the footage and whether you can sell it. Ask before you post or charge.
The one thing to remember
The camera is never more important than your parachute. If you’re new, pay the dropzone’s videographer and enjoy the jump. If you’re licensed, put in the 200 jumps, get a camera coach, rig a helmet you can cut away with either hand, and break off on time even when the shot’s perfect.
Photo: Two Skydivers in Linked Freefall Formation by Rstpch, CC BY-SA 4.0.